When building the fullstack application , the login part is essential. In this blog, we will discuss how to setup a login part with firebase with the help of react hooks. Let's get started
Create react app
Create a React app with following command in your folder.
npx create-react-app ./
Firebase Config
Let's get started with firebase config for our project.
- Open firebase console.
- Create a new project
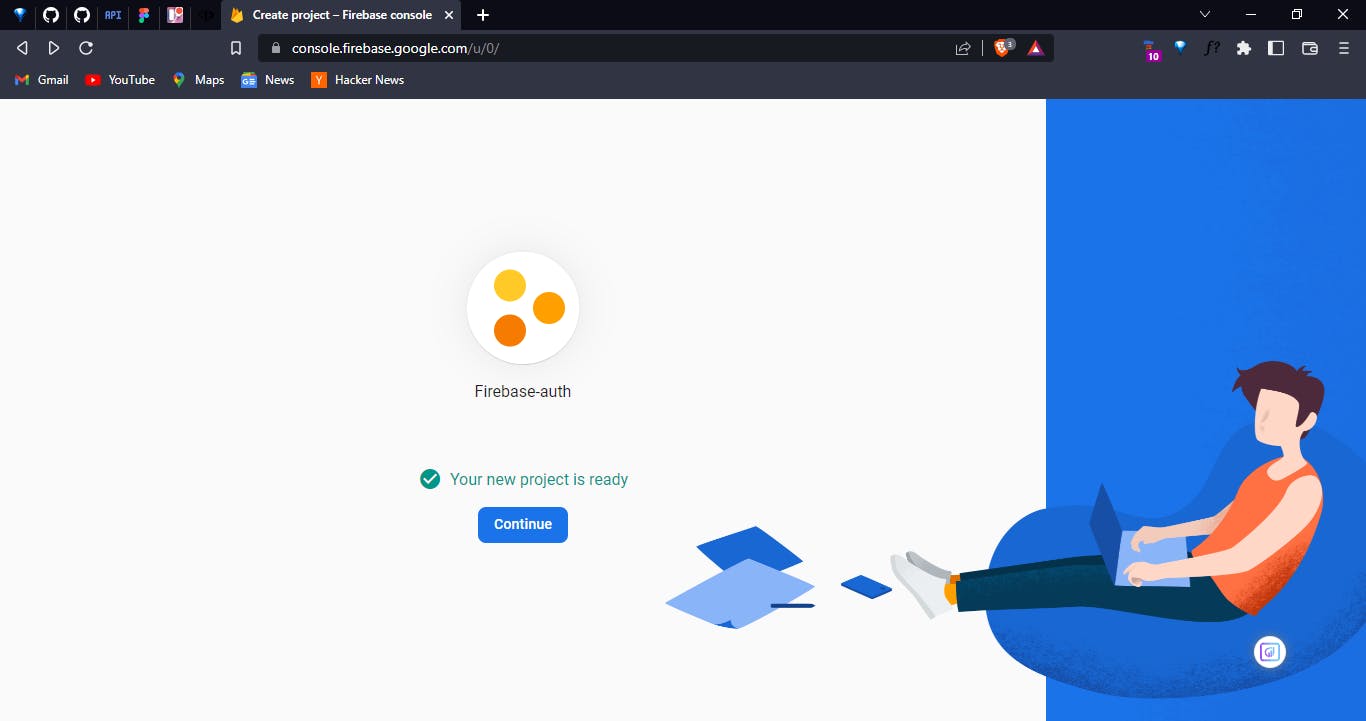
- After a project creation, following window will open
- Go to Project settings in firebase
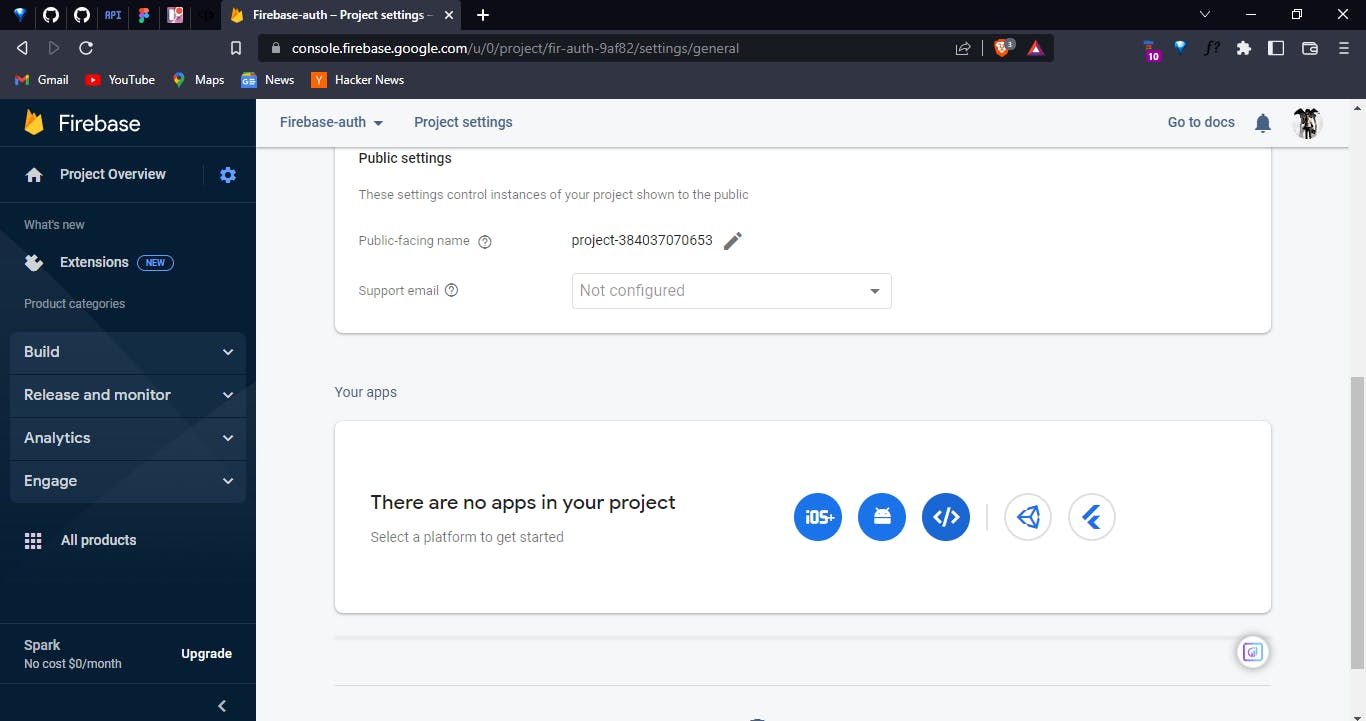
- As from the above image there is no apps in your project. Click on the icon next to Android icon.
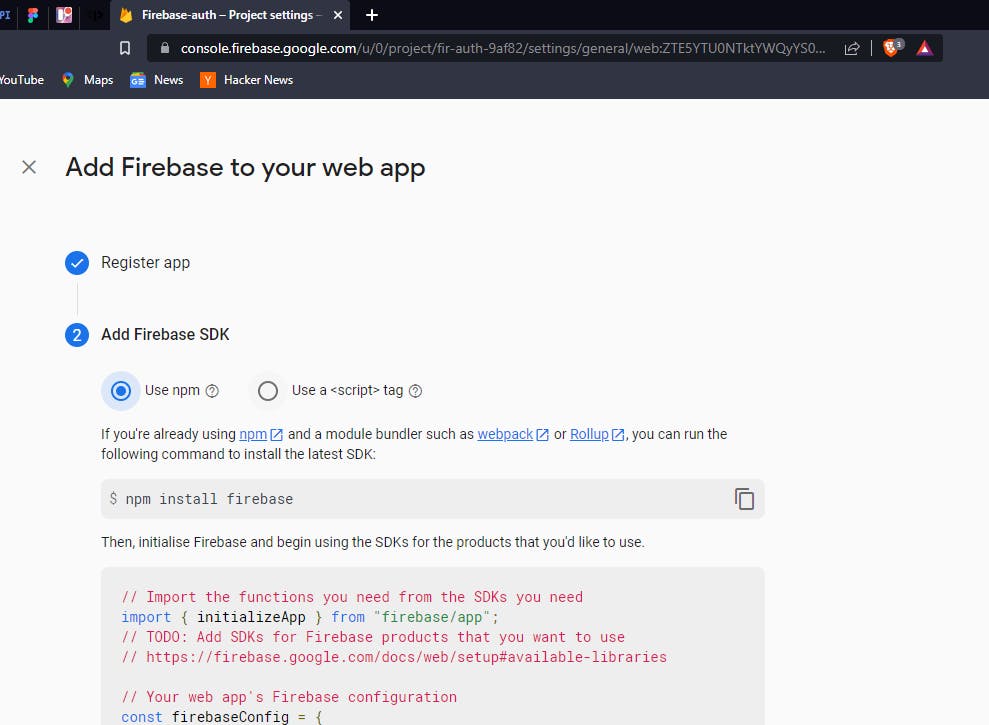
- A window will appear, with the box called Add Firebase to your web app. Register your app.
Go to Project dashboard on The Left Side there will be Authentication click on it. Select Add new Provider.
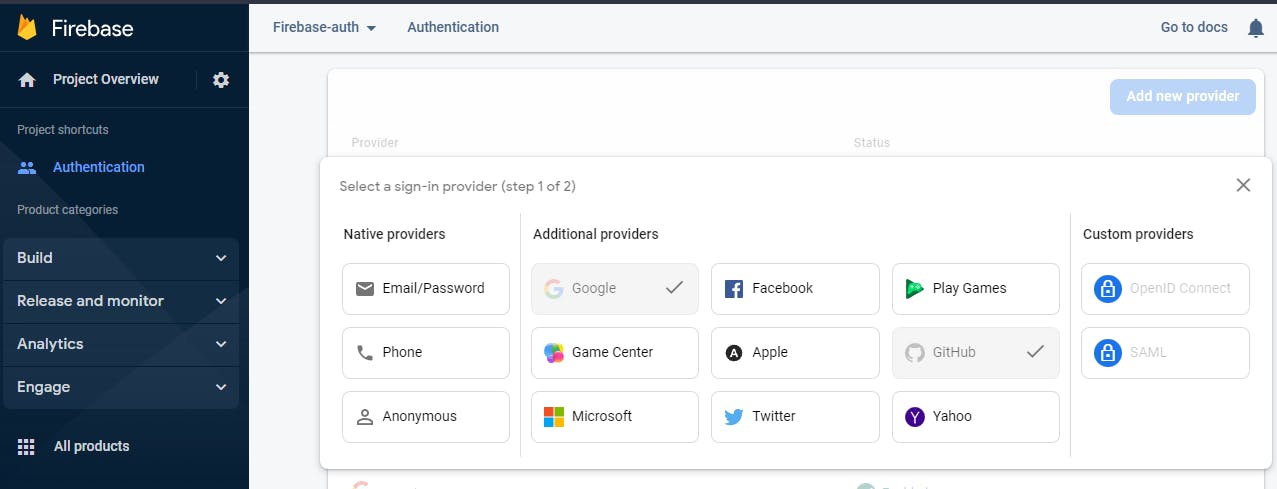
You will see the page like this afterwards.

Click on the Github Provider. You will see the page like below. (I have removed the input from my DOM for security purposes. )
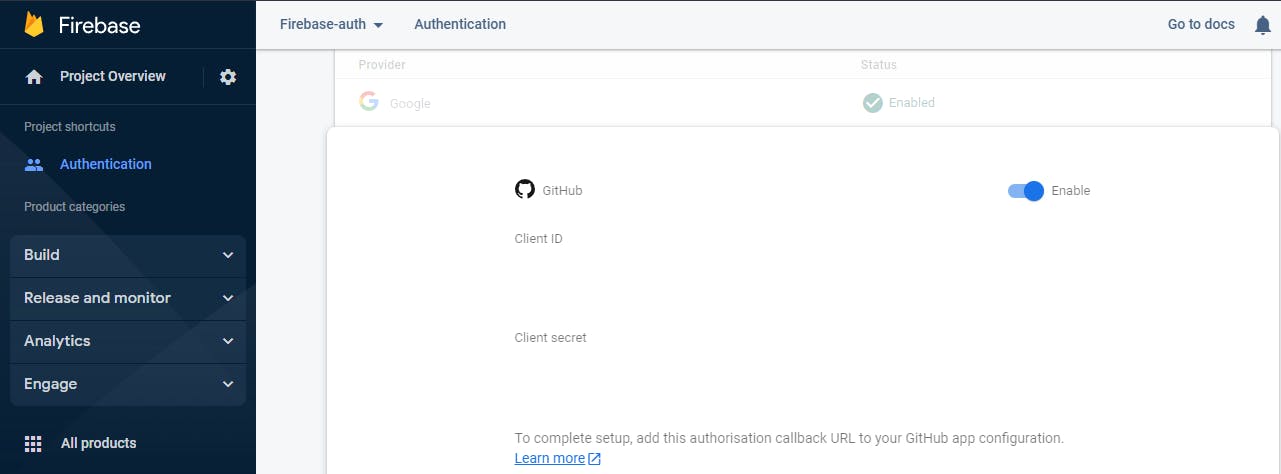
To get the Client ID && Client Secret. Open Github. In your Profile , go to Settings. In that go to Developer Settings, under that go to OAuth Apps. Click on New OAuth App button. Following window will open.
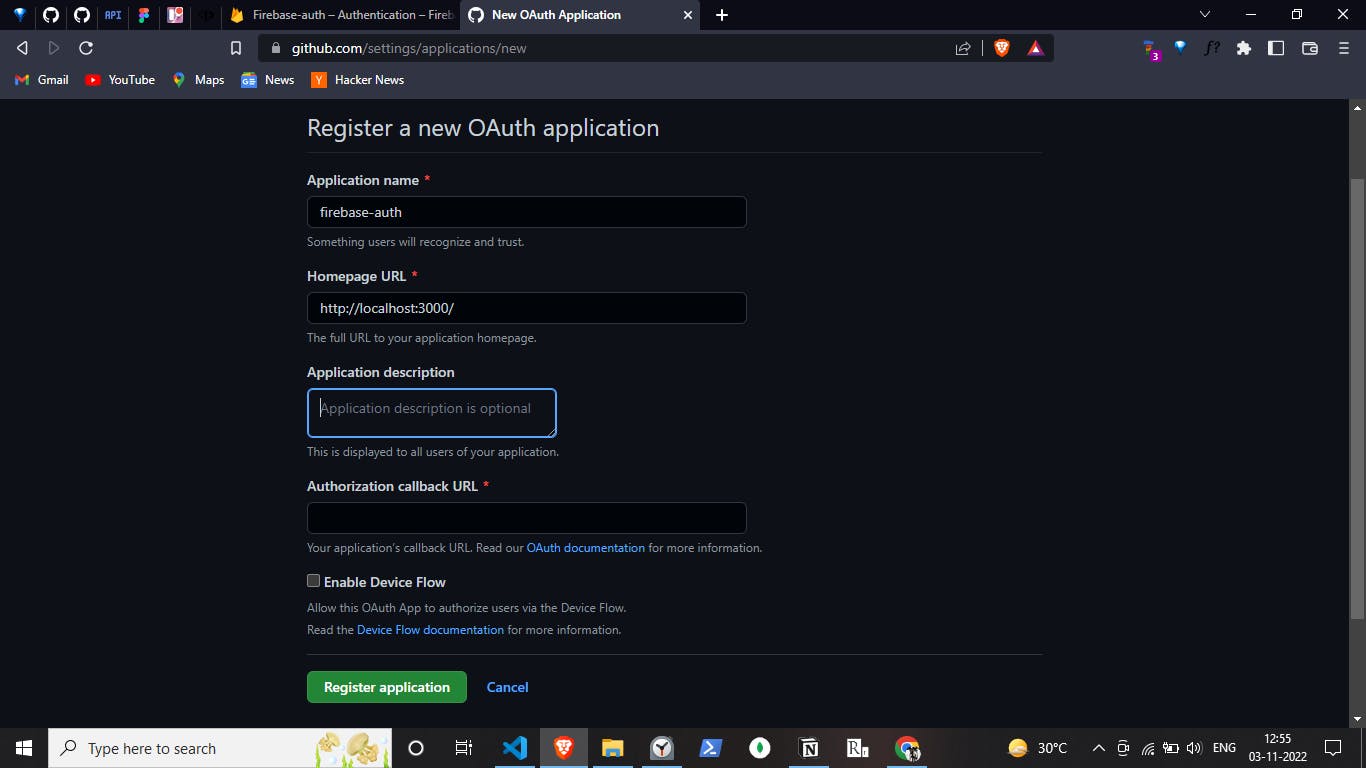
In the Authorization CallBack Url, Paste the handler link you will get from firebase:
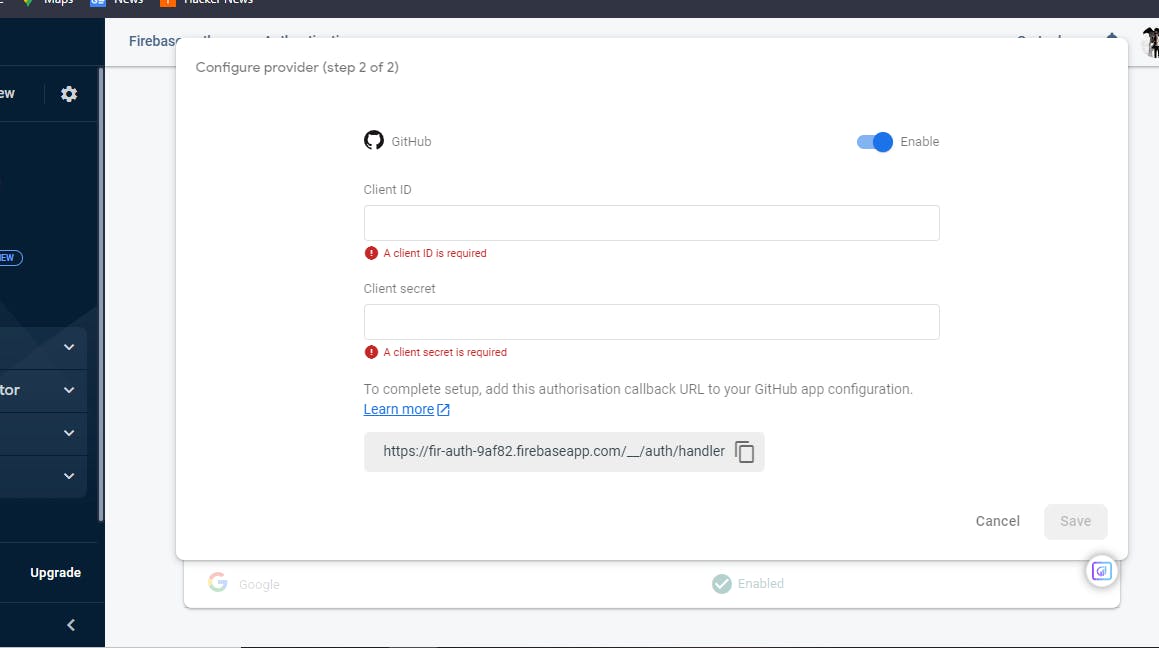
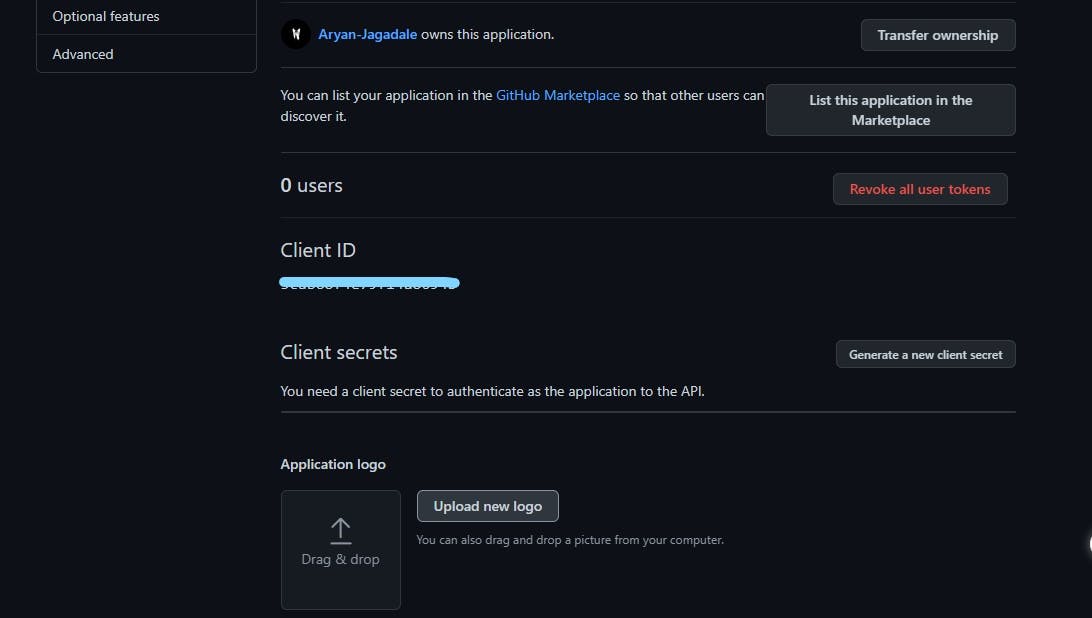
After Registering Application. Open your application. There you will get Client ID && Client Secrets. Make Sure you copy & paste them in Firebase.
After that Save All Changes, go to Authentication dashboard. Github will be enabled

Final Step, Go to Authentication/Settings.
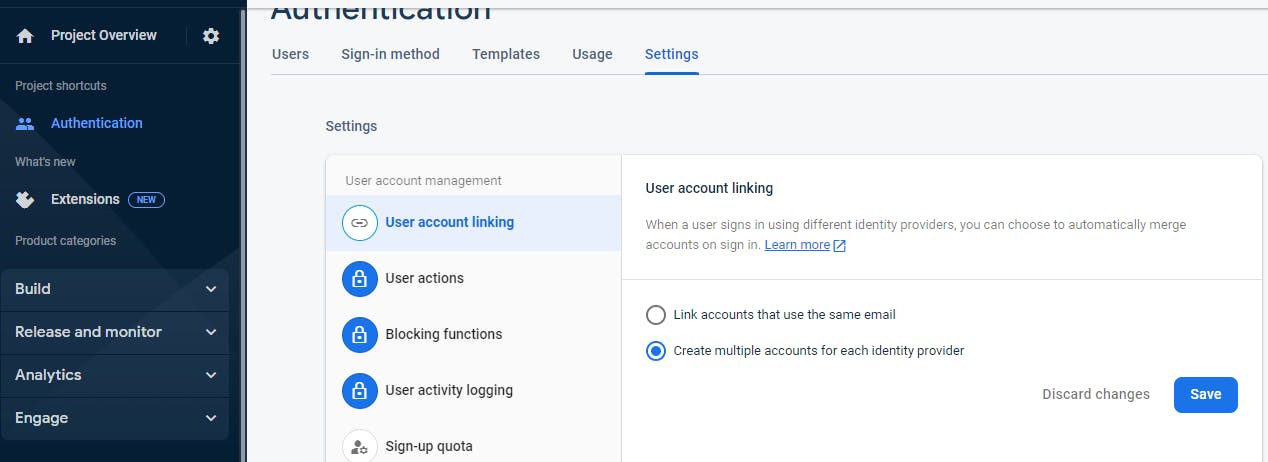
Click on the Save button. Firebase Config is done now.
Tailwind CSS Config
As the Tailwind CSS Configuration is quite straight forward. Here is the link do it step by step properly [tailwindcss].(tailwindcss.com/docs/guides/create-react-app)
Setting React Router
Make sure you install the react-router-dom in your root folder through yarn or npm.
Wrap the index.js with BrowserRouter.
- index.js
import React from "react";
import ReactDOM from "react-dom/client";
import "./index.css";
import App from "./App";

const root = ReactDOM.createRoot(document.getElementById("root"));
root.render(
  <React.StrictMode>
    <Router>
        <App />
    </Router>
  </React.StrictMode>
);
- App.js
import { Route, Routes } from "react-router-dom";
import Home from "./container/Home";
import Login from "./container/Login";

function App() {
  return (
    <div className="w-screen min-h-screen flex items-center justify-center">
        <Routes>
          <Route path="/" element={<Home/>}/>
          <Route path="/login" element={<Login/>}/>
        </Routes>

    </div>
  );
}

export default App;
- Login.js
import React from 'react'
import { FcGoogle } from "react-icons/fc"
import { FaGithub } from "react-icons/fa";
const Login = () => {
  return (
    <div className='w-full h-full flex items-center justify-center p-4'>
        <div className='w-full sm:w-96 border-gray-200 bg-gray-100 p-4 rounded-md flex flex-col items-center justify-center gap-4'>
            <div className='cursor-pointer w-full px-6 py-3 bg-white rounded-md gap-3 flex items-center justify-center hover:shadow-md'>
                <FcGoogle className="text-4xl"/>
                <p className='text-lg font-semibold text-gray-600'>Sign in with Google</p>
            </div>

            <div className='cursor-pointer w-full px-6 py-3 bg-white rounded-md gap-3 flex items-center justify-center hover:shadow-md'>
                <FaGithub className="text-4xl"/>
                <p className='text-lg font-semibold text-gray-600'>Sign in with Github</p>
            </div>

        </div>
    </div>
  )
}

export default Login
- Home.jsx
import React from 'react'

const Home = () => {
  return (
    <div>Home</div>
  )
}

export default Home
As blog as become too big for readers, I would make the PART 2 for this blog. Thank you so much for reading till here.

